
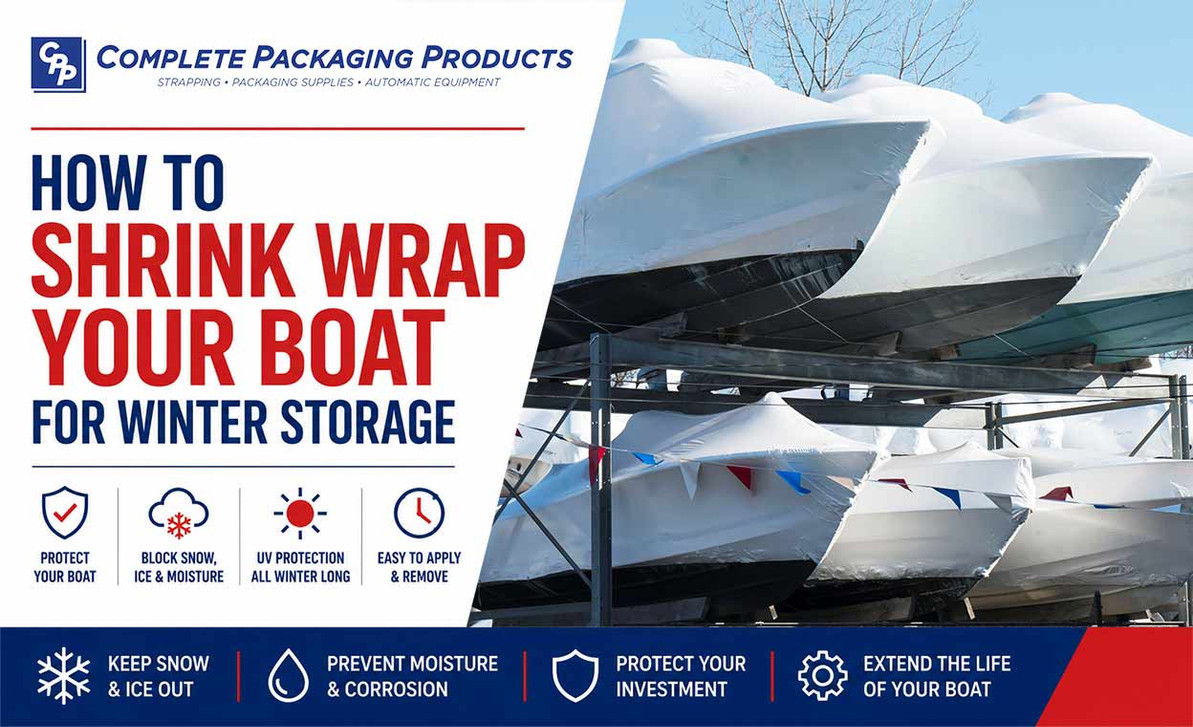
How to Shrink Wrap Your Boat for Winter Storage
How to Shrink Wrap Your Boat for Winter Storage
Shrink wrapping your boat is one of the best ways to protect it from snow, ice, rain, dirt, UV exposure, and moisture during the off-season. A properly installed shrink wrap cover creates a tight, weather-resistant barrier that helps keep your boat clean and protected until it is ready to go back in the water. Step by step instructional video on YouTube.
Whether you are winterizing a fishing boat, pontoon, sailboat, or larger vessel, using the right materials is essential. Complete Packaging Products offers a full selection of boat shrink wrap, shrink wrap heat tools from Ripack and Shrinkfast, shrink wrap tape, shrink wrap vents, and related accessories to help create a secure, professional-quality cover.
Why Shrink Wrap a Boat?
Boat shrink wrap is commonly used for winter storage because it creates a custom-fit protective cover. Unlike tarps, shrink wrap is heat-tightened around the boat, which helps reduce sagging, flapping, and water pooling.
Shrink wrap can help protect your boat from:
- Snow and ice buildup
- Rain and moisture
- Dirt, leaves, and debris
- UV exposure
- Bird droppings
- Wind damage
- Mold and mildew when properly vented
For boat owners storing their vessel outdoors, shrink wrapping is often a smart investment that can make spring cleanup easier and help protect the boat throughout the storage season.
Supplies You’ll Need
Before you begin, gather the proper materials and safety equipment:
- Marine shrink wrap film
- Shrink wrap heat gun by Ripack or Shrinkfast
- Propane tank
- Woven polyester cord strapping or perimeter band
- Support poles
- Padding or foam protection
- Shrink wrap installation supplies including shrink wrap tape, vents, and zipper doors (optional)
- Gloves and safety glasses
- Utility knife
Having all supplies ready before starting makes the installation process safer, faster, and more efficient.
How to Shrink Wrap Your Boat for Winter Storage
Because a heat gun is used, always follow safety instructions and keep flammable materials away from the work area.
Step 1: Clean and Prepare the Boat
Start by cleaning the boat thoroughly. Remove leaves, dirt, cushions, gear, electronics, fishing equipment, and any items that should not be stored under the wrap.
Make sure the boat is dry before wrapping. Trapping moisture inside the cover can lead to mildew, odors, and corrosion.
Also check that:
- Drain plugs are removed
- Fuel and battery storage steps are handled properly
- Sharp corners are padded
- Antennas, towers, and accessories are secured or removed
- The boat is positioned safely on its trailer, lift, or storage blocks
Step 2: Build a Support Structure
A strong support structure is critical. Without it, snow and rain can collect on top of the wrap, causing sagging, tearing, or collapse.
Install support poles along the centerline of the boat. Then run strapping from the bow to the stern over the poles to create a high ridge. The goal is to form a tent-like shape so water and snow slide off the cover.
For larger boats, additional center supports, ridge poles, and woven polyester cord strapping can help create a stronger structure that reduces stress on the shrink wrap.
Step 3: Install the Perimeter Band
The perimeter band holds the shrink wrap securely around the boat. Run the band around the hull below the rub rail or around the trailer frame, depending on your setup.
Make sure the band is tight and secure. This anchor point helps keep the wrap in place once heat shrinking begins.
Step 4: Drape the Shrink Wrap Over the Boat
Roll the shrink wrap film over the boat, making sure it covers the entire vessel from bow to stern and side to side.
Leave enough excess material to tuck under the perimeter band. The wrap should extend down past the sides of the boat so it can be sealed properly.
If your boat has sharp edges, windshield corners, cleats, railings, or other pressure points, add padding before tightening the wrap.
Need help determining how much shrink wrap you'll need? Check out this article: Boat Shrink Wrap Size Chart: How to Choose the Right Width
Step 5: Attach and Seal the Wrap
Tuck the shrink wrap under the perimeter band and heat-weld or tape the material to itself. Work carefully around the boat, making sure the wrap is secure before shrinking.
Use high-quality shrink wrap tape to seal seams, patch small holes, and reinforce stress points. Proper sealing improves the durability of the finished cover throughout the storage season.
Step 6: Shrink the Wrap with Heat
Using a propane-powered shrink wrap heat gun, begin heating the wrap evenly. Start lower on the sides and work your way up.
Keep the heat gun moving at all times. Holding it in one spot too long can burn a hole in the wrap or damage the boat.
As the material heats, it will tighten around the boat. Continue working in sections until the wrap is smooth and firm. The finished cover should be tight, but not overstretched.
Step 7: Add Vents
Ventilation is very important. Without airflow, moisture can become trapped under the wrap and lead to mold or mildew.
Install shrink wrap vents in several locations, usually along the sides near the top of the cover. Larger boats may need more vents.
A zipper access door can also be installed if you need to get inside the boat during storage.
Step 8: Inspect the Finished Wrap
Once the boat is wrapped, walk around and inspect the entire cover.
Check for:
- Loose areas
- Burn holes
- Open seams
- Sharp pressure points
- Poor drainage angles
- Missing vents
- Gaps near the perimeter band
Patch any weak spots with shrink wrap tape before leaving the boat in storage.
Boat Shrink Wrapping Safety Tips
Shrink wrapping requires open flame and high heat, so safety is extremely important.
- Never point the heat gun at people, fuel tanks, batteries, or flammable materials
- Keep a fire extinguisher nearby
- Do not shrink wrap in high winds
- Use proper gloves and eye protection
- Follow all heat gun and propane safety instructions
- Avoid overheating one area
- Make sure the boat is properly ventilated after wrapping
If you are not comfortable using a heat gun, consider hiring a professional boat shrink wrap installer.
Can You Shrink Wrap a Boat Yourself?
Yes, many boat owners shrink wrap their own boats, especially smaller vessels. However, it does require the right tools, materials, and safety precautions.
For larger boats, boats with complex shapes, or first-time shrink wrapping projects, hiring a professional may be the better option. A poor wrap job can trap moisture, tear in storms, or collapse under snow.
Final Thoughts
Shrink wrapping your boat is one of the most effective ways to protect it during winter storage. By cleaning the boat, building a strong support frame, securing the wrap properly, applying heat carefully, and adding ventilation, you can help protect your investment from harsh weather, debris, moisture, and UV exposure.
Using quality materials also makes a significant difference. Professional-grade marine shrink wrap, durable woven cord strapping, reliable heat tools, shrink wrap tape, and proper ventilation accessories all contribute to a stronger, longer-lasting cover.
Whether you are wrapping a small fishing boat or a large yacht, taking the time to do the job correctly can reduce maintenance, simplify spring cleanup, and help extend the life of your boat.
Need Help Choosing the Right Boat Shrink Wrap Supplies?
Complete Packaging Products carries everything you need for professional boat winterization, including boat shrink wrap, heat tools, shrink wrap tape, vents, woven polyester cord strapping, and related accessories.
Need help choosing the right boat shrink wrap supplies? Call Complete Packaging Products at 866-787-2790 for expert product recommendations and bulk pricing.
Recent Posts
-

Why Packaging Quality Matters: Choosing a Supplier You Can Trust
Why Quality Control Is Key for Packaging Suppliers When businesses order packaging materials, they e …Sep 1st 2026 -

How to Shrink Wrap Your Boat for Winter Storage
How to Shrink Wrap Your Boat for Winter Storage Shrink wrapping your boat is one of the best ways to …Sep 1st 2026 -
A Complete Guide to Strapping Solutions
Which Type of Strapping Is Right for Your Application? A Complete Guide Choosing the right strappin …Jul 20th 2026